Campaigns are the organization of what ads appear, in what zones, and how often across your site.
In order to create a campaign in Broadstreet, you will first need to have created advertisers, created advertisements, and created zones for ads to appear in.
The directions below walk you through how to create a new campaign.
Select the Campaign’s Advertiser
Navigate to the Advertisers option in the left side menu.
This opens the Advertisers page in Broadstreet. Here you can see a list of all your advertisers within Broadstreet. Locate the advertiser whose campaign you need to create and click on the advertiser name.
The individual advertiser’s page opens. There’s a section specifically for Campaigns. If you have already created campaigns for that advertiser, they will appear in the list below.
Click New Campaign in the top menu to create a new campaign.
This opens the New Campaign page for the advertiser.
Enter Campaign Details
The first step is to create a descriptive name for your campaign. Use the Name field at the top to enter the campaign name.
There are a lot of options when it comes time to set up your campaign. To make it simpler, Broadstreet has these different options sectioned out into different categories.
Not every category needs to be filled out in order to create your campaign, but you should read through and find out if there are features and settings that may improve the effectiveness of your ads.
Flight
The Flight tab helps you set up when and how often ads will display on your site.
Start and End Date
The start and end dates allow you to set what time period your campaign will be active and when it will finish. Simply click on the fields and select the appropriate dates from the calendar. If you do not select start and end dates, then once published, the campaign will immediately start to run and could run indefinitely.
Along with the dates, you can select specific times to start and end your campaign. Otherwise, they will default to starting at 12:00am and ending at 11:59pm.
Paused
To temporarily halt a campaign from running, click the checkbox. The campaign will remain visible under the advertiser’s campaigns, but will not be displaying any ads while paused. To resume the campaign, uncheck the paused option again.
Note that any campaign created by an advertiser administrator will automatically be created with the status of Paused.
For more information on the difference between pausing and archiving a campaign, see the documentation here.
Archived
To hide a campaign from view on an advertiser’s page, select this option. Note that archiving a campaign does not pause the campaign, an active campaign can still run and continue to run when archived. For more information on the difference between pausing and archiving a campaign, and how to unarchive a campaign see the documentation here.
Impression Target
Some ads are measured by the number of impressions they generate. If you need to track these impressions and base a campaign on the total number, then enter the intended number of impressions for the campaign here.
Max Impression Type
If you enter an impression target number, a new field will appear for you to decide what to do with the number you’ve set.
Selecting Goal means that your impression target number functions as a record-keeping number that you would like to surpass with your campaign but that does not affect functionality. If you have hit the goal for a campaign, but the end date has not yet been reached the campaign will continue to run so long as no other campaign has priority on the zones.
Selecting Cap means that the impression target number is a hard limit for the campaign. Once the impression target number is reached, the campaign will automatically deactivate.
Impression Pacing
If you enter an impression target number and select an end date for your campaign, a new field will appear for you to decide how quickly the campaign is displayed.
Selecting ASAP means that you want the advertisements to be displayed in the selected zones as quickly as possible. This means that you may reach the number of needed impressions and end the campaign well before the selected end date.
Selecting EVEN means that you want the advertisements to display in the selected zones a steady amount over the period of time you’ve selected for your campaign to run. This means it is more likely that your campaign will go through until the end date you selected and might share the zone space with other running campaigns.
Campaign Display Type
By default, Broadstreet prevents the duplication of campaigns and ads on a given page. Therefore, the No Repeating option is automatically selected. There are, however, more options to choose from to control the duplication of ads on a page:
Allow Repeating (Campaign Level)
An alternate behavior where a campaign can be repeated, but not the same ad from the same campaign. This setting will allow different ads inside the campaign to display on the page together.
Allow Repeating (Advertisement Level)
This should be set when a campaign can be repeated, and ads within that campaign can be repeated as well. This behavior can alternatively be implemented on a zone level for all campaigns by selecting: “Allow Duplicate Ads.” More information can be seen about zone settings here.
Force Repeating
Normally on a single page, an advertiser does not have an ad playing in more than one zone at a time. Enabling force repeating means that every zone on a page will display the advertiser’s ads.
This is useful if an advertiser wants to take over an entire webpage to have their campaign run for a roadblock-style campaign where advertisers have ads that need to be displayed together. For example, this could be used to make sure that a leaderboard is always coordinated with a sidebar unit.
Placements
The Placement tab lets you set up what advertisements are part of your campaign and what zones they will appear in. You can even fine-tune what devices you want the campaign to target.
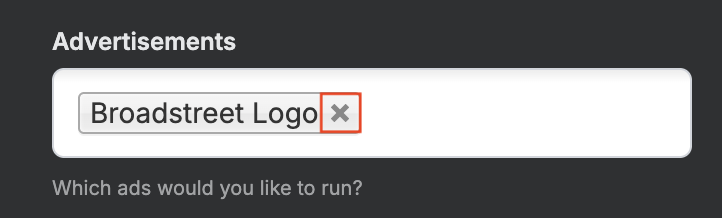
Advertisements
Here is where you can select the ads you want as part of a campaign. Click into this box to see a dropdown of advertisements you can choose from for this advertiser. You can select multiple advertisements for a campaign. If the wrong advertisement is selected, simply click the x next to the ad name to remove it.
Zones
Here is where you can select the zones you want your selected ads to populate in. Click into this box to see a dropdown of zones you can choose from. You can select multiple zones for a campaign. If the wrong zone is selected, simply click the x next to the ad name to remove it.

Target To
If you only want your ads to appear for certain device holders, for example you only want a campaign to play for phone users of a site rather than desktop users, you can select that option here. Broadstreet will only have your campaign run when the visitor to the page is using the selected device.
*note – in Broadstreet, mobile includes phone AND tablet
When you’re done adding advertisements and zones you can click Add Placement(s). You’ll see the placement options appear to the right.
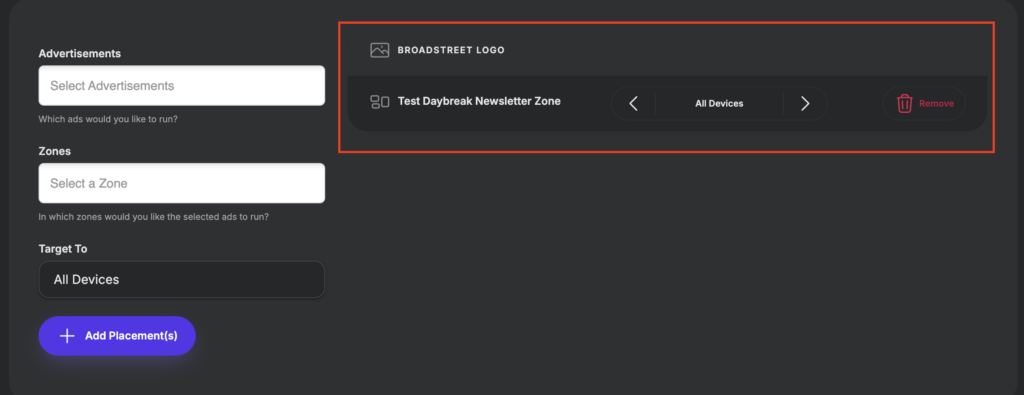
You can have multiple placements for a single campaign. To create another placement, simply fill out the advertisements, zones and target information and click Add Placement(s) again.
Keywords
The Keywords tab lets you fine tune where your ads will display, or won’t display, on your website. Using information such as an article slug or a category from a site, Broadstreet can help match campaigns to website pages of relevant content.
*Note keywords and negative keywords should be lowercase and phrases should be hyphenated*
Keywords
Keywords are specific categories or articles you want to attach your campaign to. Keywords are matched on your site based on an article slug or the category an article is organized under in your site. To add a single keyword, simply type the word and hit the spacebar. To remove the word, hit the x at the end of it.

To add a phrase as a keyword, hyphenate the phrase. For example, the category “Food and Drink” will show as follows:
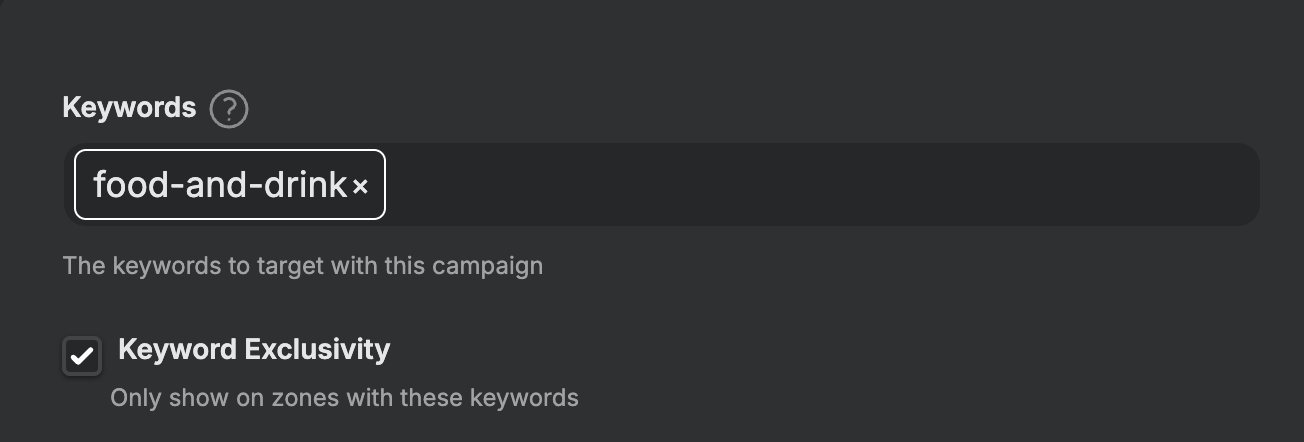
Keyword Exclusivity
By default, ads will show in all zones that have been selected for a campaign. If you would like ads to only appear in the zones that have the above keywords in their pages, then enable this option.
*This should be selected when wanting to use keywords
*You should not select keyword exclusivity when using negative keywords
Negative Keywords
Negative keywords take the category or phrases entered and make it so that the campaign will not show ads on any page that are in the matching category or on this page.
To add a single keyword, simply type the word and hit the spacebar. To remove the word, hit the x at the end of it. To add a phrase as a keyword, hyphenate the phrase. For example, “Food and Drink” will show as follows:

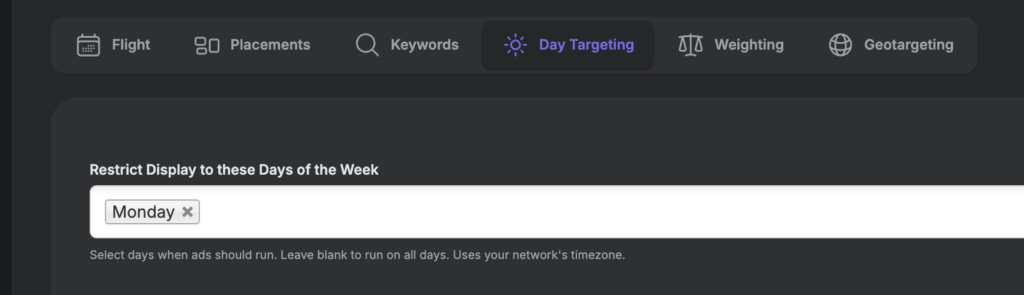
Day Targeting
The Day Targeting tab allows you to select specific days of the week to run run your campaign. For example, if your campaign dates are set for an entire month, you can utilize day targeting to run the campaign only on each Monday of that month.
Weighting
The Weighting tab allows you to set the rate at which a campaign will rotate through the selected zones relative to other campaigns.
Weight
The weight buttons give you several options for your campaign and the frequency that it will rotate through zones. The options take into consideration how many campaigns are competing for a zone and how often they will display relative to each other.
For a full breakdown of the different weight options and how to select what you need, see the article here.
Geotargeting
The Geotargeting tab allows you to try and target users located in specific geographical areas with a campaign. You can add multiple geographic regions to your targeting and you can also remove specific geographic regions from seeing a campaign.
Search
Enter the name of the city, the zip code, the state, or the country that you want to target. A dropdown will appear with suggested results, click the closest match.
Radius or Exact
Here you have the option to only select the specific area you chose in your search by clicking Exact or to broaden the area by a designated Radius.
Distance
If you selected a Radius from your original location, you can now specify how far you would like that radius to extend.
Distance Type
This is the unit of measurement that will be used for the Distance amount entered.
When you’re done, click Add Geotarget.
In the example below, two criteria have been added for geotargeting a campaign. The campaign will display for users within a 25-mile radius of Atlantic City, New Jersey but will not display for users in Mays Landing, New Jersey. If you added another geotarget for Trenton, New Jersey, then the campaign would display for users both in Atlantic City and in Trenton.
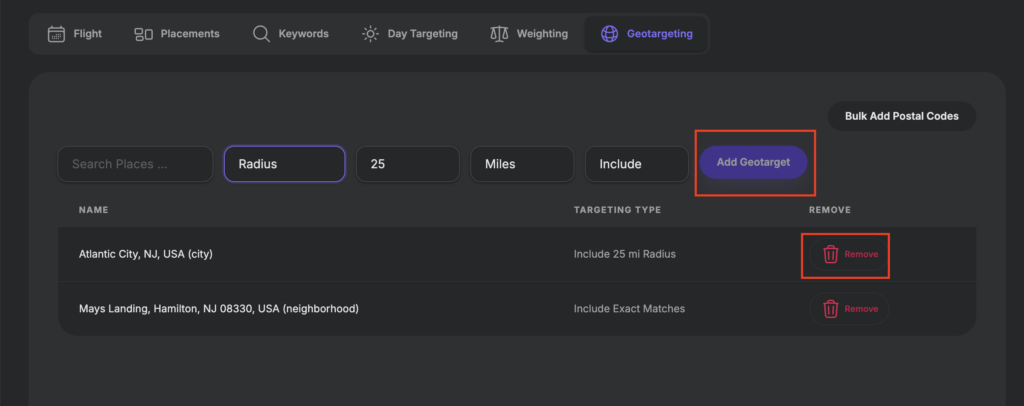
A geotarget can easily be removed by clicking the trashcan icon to its right, and more can be added at any time.
Publish the Campaign
Once you have finished entering all of the details needed for a campaign, it’s time to finalize it.
At the bottom left of the Campaign Details page, click Create Campaign.