In order for your advertisements and campaigns to display on your website, you can either install the Broadstreet plugin or manually add some code from Broadstreet to your site. Before you get ready to add code to your WordPress site, you should first have created some zones, advertisements, and campaigns for your site. You can find more information on creating zones, advertisements and campaigns in the articles below:
The directions below will describe the basics of setting up Broadstreet zones on a WordPress site.
Install Broadstreet Plugin
It is not required to install the Broadstreet plugin on your WordPress site, but it makes the process significantly easier and is recommended. If you do not want to install the plugin, it is recommended you contact a developer to integrate Broadstreet with your site.
Login to your WordPress site and click Plugins in the left menu.

At the top of the Plugins page, click Add New.

In the search bar, type “Broadstreet” and the available widgets will populate below. Select to Install Now next to the Broadstreet plugin.

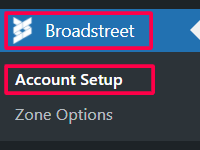
Once the Broadstreet plugin is installed, click to Activate it. You’ll then see a new option on your left menu for Broadstreet. Click on the Broadstreet option and then select Account Setup.
Navigate to the Setup section. The first step is to add the API access token from your Broadstreet account. Click the link under the Access Token section, you may have to login to your Broadstreet account, and you will be brought to the Access Token page in Broadstreet.
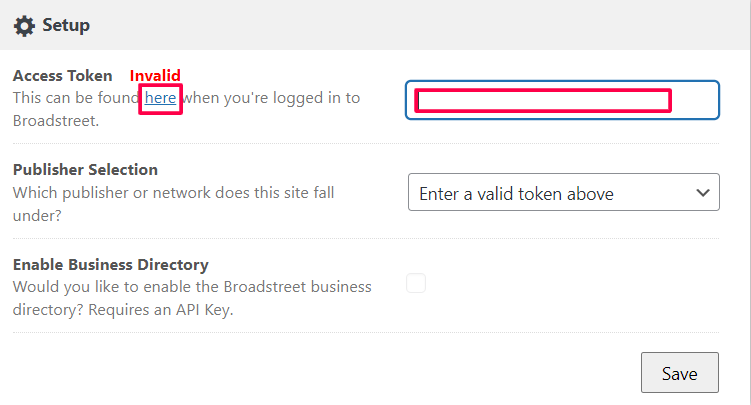
Copy the long string of numbers and letters that makes up your token, and paste it into the WordPress field for the token. Click Save so that WordPress can validate the token.

You can now make the last selections for setup.
Publisher Selection
Here is where you select which network you want the widget to connect to. If you only have one network, you don’t need to worry about changing anything. For more information on networks see the documentation here.
Enable Business Directory
This is an optional feature that allows you to set up a business directory on your website. This feature is no longer supported, but you can select to set it up if you want.
Once you have finished, select Save and you’ve finished installing and setting up your Broadstreet widget in WordPress!
Add Broadstreet Ad Zones to WordPress
Once you have installed the Broadstreet plugin to WordPress, adding ad zones to your site is a simple process.
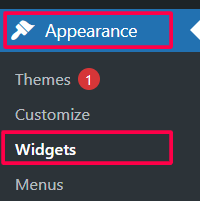
Login to wordpress and click the Appearance and then Widgets in the left menu.
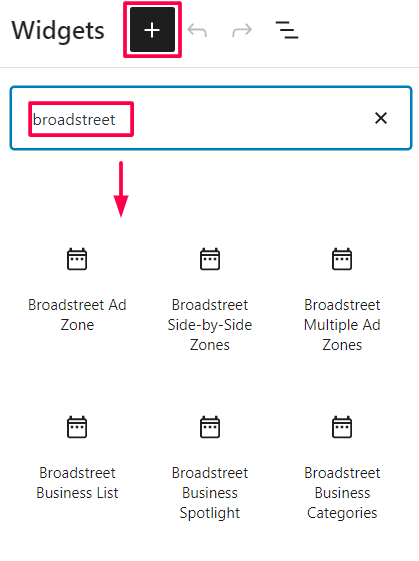
You will see your website pages ready to be edited. Click to Add Block and then search the blocks for Broadstreet. You will see a selection of different Broadstreet ad zones that can be added to your site. Select the desired block and drag and drop it into the desired widget area.
Once you add the block to your site, click the block and select the Broadstreet zone that you want to display. All of the Broadstreet zones you have created will appear in the dropdown. For more information on zones, see the documents here.