Sometimes a web page is updated or adjusted and the zones that have been created for them need to be edited. Updating a zone is a simple process of opening the zone settings, making the needed changes, and saving the changes!
The directions below walk you through how to edit an existing zone.
Locate Your Zone
Navigate to the Zones option in the left menu.
Here you can see a list of all existing zones on your account. Locate the zone that you need to edit, and click on the extended menu to the right of the zone’s name and click edit
Edit Your Zone
Every field that you filled out when making your zone can now be updated!
For a refresher on the individual fields, take a look at the documentation here. Remember that the changes you’ve made will not take effect until you publish them in the step below.
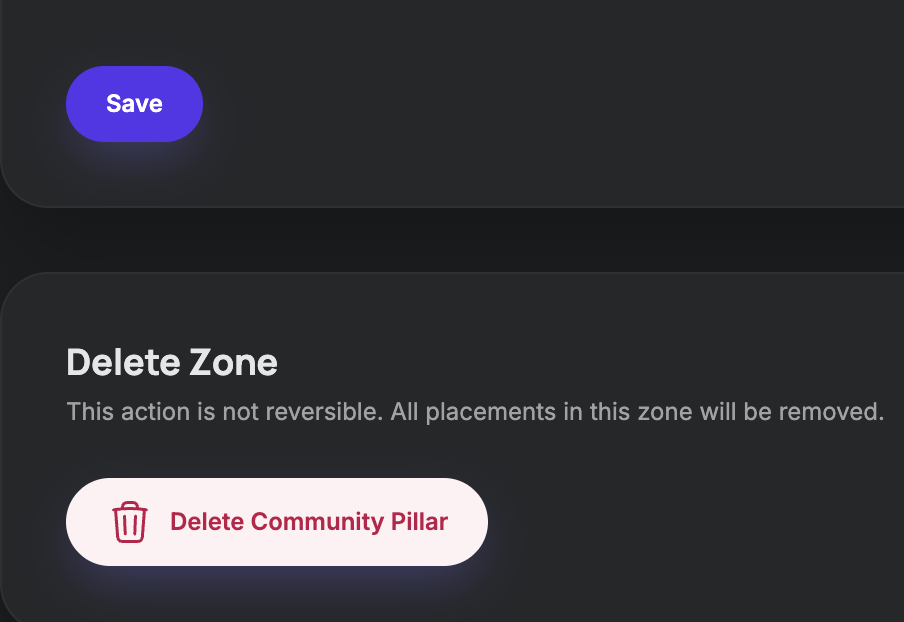
Publish Your Updated Zone
Once you have finished updating your zone, the only thing left is to save and publish your edits! Scroll down the Zone Details page until you see the button to Update Zone in the bottom left. Make sure you are happy with the changes you’ve made to your zone before you publish them.