Sometimes in the process of working with a client, changes need to be made to an advertiser account. There is a lot of information tied to an advertiser in Broadstreet, from advertisements to campaigns, so care should be taken when updating advertiser information and settings.
The directions below walk you through how to update an existing advertiser.
Locate the Advertiser
Navigate to the Advertisers option in the left side menu.
This opens the Advertisers page in Broadstreet. Here you can see a list of all existing advertisers in the program. Locate the advertiser you need to update and click on the advertiser’s name.
The page for the individual advertiser opens.
Advertiser Notes
Once you’re on the advertiser’s page, you can see a section titled Advertiser Notes near the bottom of the screen.
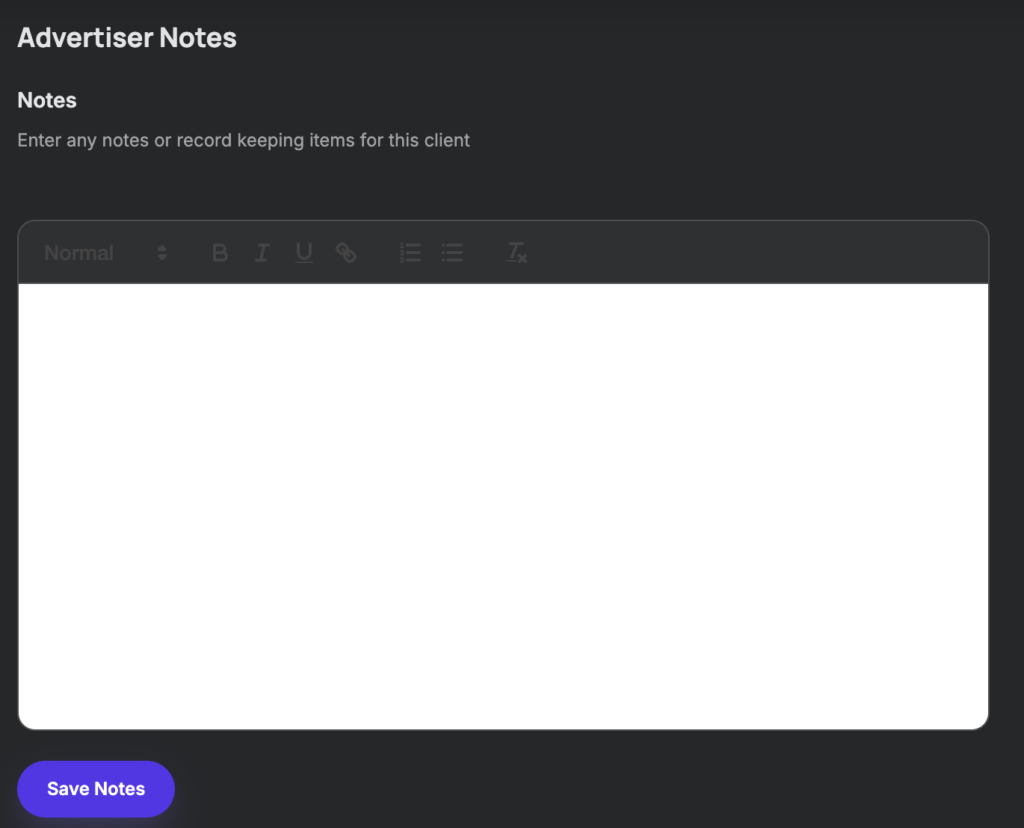
The notes section provides you with a space to keep track of any relevant information related to that advertiser, such as updates that need to be implemented in campaigns after meetings, reminders about future meetings, etc.
You must click Save Notes in the bottom left in order to keep any notes you have added. If you add information to the notes section, but fail to click Save Notes before exiting the advertiser, any new information you added will be lost.
The notes section provides all of the basic features of a word editor and you are able to do the following:
-
-
- Select Text Type (Heading 1-3, Normal)
- Bold
- Italicize
- Underline
- Add Hyperlinks
- Numbered Lists
- Bullet Point Lists
- Remove Formatting
-
Edit Your Advertiser
Once you’re on an advertiser page, click the extended menu in the top right and choose Edit Advertiser
There are four main sections that you can edit for an advertiser, each of them is broken down below in more detail.
Basic
The fields under the Basic tab should be familiar from when the advertiser was first created.
Advertiser Logo
Click to Choose a file. A page will open where you can either upload an image from your computer, an online storage platform or social media.
Name
The name of the advertiser.
Advertiser Location
This is an optional feature that will provide data on where an advertiser is located. Similar to using Quick Start when creating an advertiser, click Launch Business Finder.
In the map page that opens, enter the advertiser’s business address. When the business is located, click Use Place.
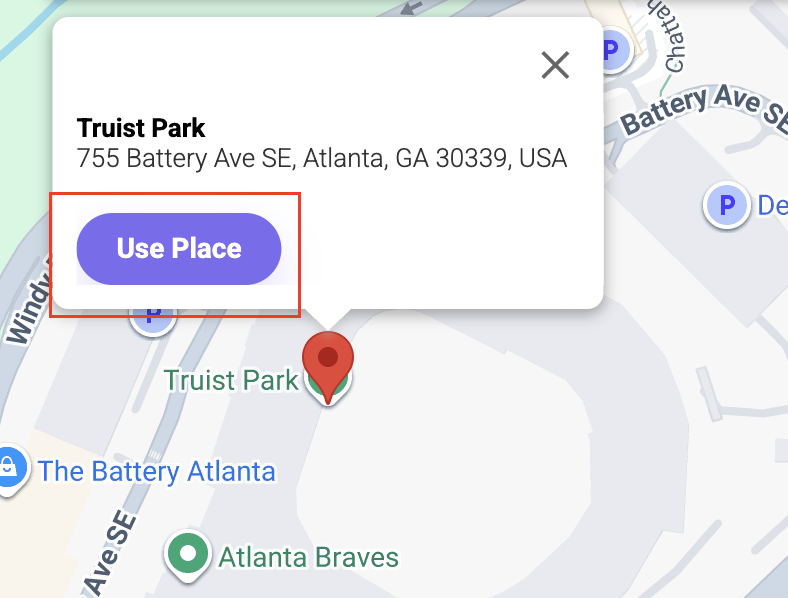
The selected address will populate below the field.
Company Website
Optional field to fill out the advertiser’s website.
Archived
This option will allow you to archive or unarchive your advertiser. For more information on archiving advertisers, see the documentation here.
Reports
There are several Report options that can be selected for advertisers, the details on setting up automatic reports and an explanation of who they are sent to can be found in the documentation here.
Access
Advertiser administrators allow advertisers to view and edit ads as well as view reports for their advertisements. More detailed information about advertiser administrators, setting them up, determining permissions, and removing them, can be found here.
Social Integrations
Use this tab to connect to your advertiser’s Instagram account in order to pull in live posts for our Instagram Ad Formats.